Four Ways to Build Peppa Pig
DIY guides for the popular cartoon character use four different household materials to create sturdy toys or wall decorations.
By Kwame Barrett ·
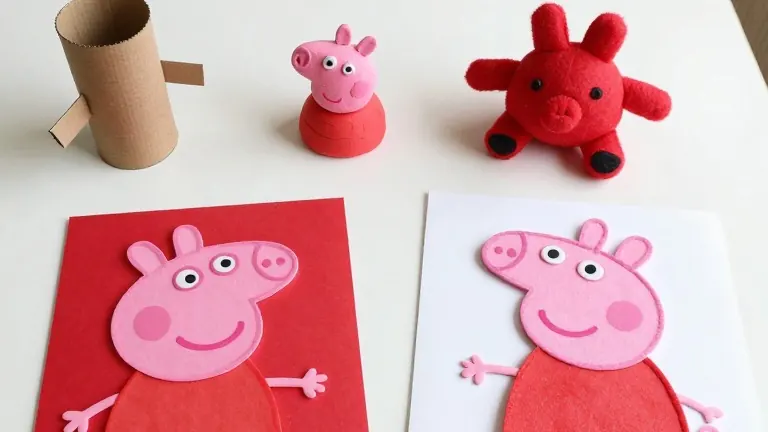
Parents looking to engage children in creative projects have four distinct methods to construct figures of Peppa Pig using common household items. The techniques range from recycling simple cardboard to sewing fabric, offering varying levels of complexity and durability.
The first approach uses a standard paper towel tube as the structural base. The creator paints the lower half of the tube red and the upper section pink. A separate pink paper cutout serves as the head, which is attached to the top of the tube. Markers are then used to add facial features and arms directly to the surface.
Modeling with clay or dough provides a three-dimensional alternative that emphasizes tactile engagement. The process involves shaping a pink sphere and stretching one end to form the snout. A separate red cone represents the dress. The two parts are joined together, and small strips or circles are added for limbs, eyes, and shoes.
For a softer, durable result, felt or cloth works best. The maker cuts two identical pieces of red felt for the body and two of pink felt for the head. These pieces are sewn or glued together, leaving a gap to insert synthetic cotton for stuffing. The figure is closed and the facial details are attached at the end.
EVA foam offers a flat, durable option suitable for decoration. A template is used to cut a pink head and a red dress from the foam material. These components are layered and glued together. Permanent markers or acrylic paint define the smile and cheeks on the finished piece.
The Peppa Pig franchise maintains a global audience due to its short episodes and simple narrative structure. The show features bright colors and repetitive dialogue, which aids in language learning for preschoolers. Its focus on family and friendship resonates with young viewers.
Source: XHJK-TDT